

Living in a Vancouver home means managing indoor air quality issues that most Canadians never face. Between November and March, our airtight condos and older homes trap moisture that breeds mold. Summer brings wildfire smoke that seeps through every window seal. Toss in urban pollution from port traffic and you’ve got a year-round recipe for respiratory problems, allergies, and that persistent musty smell no amount of scented candles can mask.
Testing your indoor air takes about two hours and costs between $150 for a DIY kit or $400 for professional assessment. The fix depends on what you find, but most Vancouver homes need three things: a proper ventilation strategy for our wet climate, HEPA filtration for wildfire season, and humidity control to prevent mold in our notoriously leaky building stock.
The payoff goes beyond comfort. Poor indoor air quality accounts for more sick days than most people realize, and in a city where we spend 90% of our time indoors from October through April, the air inside your home matters more than the Air Quality Health Index posted outside.
This guide walks you through Vancouver-specific testing methods, realistic improvement strategies that work in our climate, and how to verify the changes actually work. You’ll learn which problems you can tackle in an afternoon and which require calling in help, from furnace filter upgrades to dryer vent inspection that most renters and homeowners overlook.
Why Indoor Air Quality Matters in Vancouver Homes
Vancouver’s coastal location creates a perfect storm for indoor air quality issues that most North American cities don’t face. Our nine months of rain dump serious moisture into homes, especially in older character houses with aging weatherproofing and original single-pane windows. That dampness doesn’t just make basements smell musty, it actively feeds mold growth in walls, under flooring, and behind furniture pushed against cold exterior walls.
Then there’s wildfire season, which has shifted from a rare emergency to a regular summer feature. Smoke from interior BC and Washington State fires can blanket the city for days or weeks, and opening windows for fresh air suddenly becomes a health hazard rather than a solution. Meanwhile, our push toward energy efficiency has made newer condos and townhomes incredibly air-tight, which saves heating costs but traps everything from cooking fumes to cleaning product vapors inside with nowhere to go.
The health implications hit harder here because we spend so much time indoors during our long, grey seasons. Respiratory issues, aggravated allergies, persistent headaches, and sleep disruption all connect to poor indoor air quality. Kids, seniors, and anyone with asthma or other respiratory conditions feel the effects first, but even healthy adults notice the difference between a well-ventilated home and one that’s become a sealed box of accumulated pollutants. Understanding these local challenges is the first step toward creating genuinely healthy living spaces in Vancouver’s unique climate.
What You’ll Need to Test Your Home’s Air Quality
Testing your Vancouver home’s air quality doesn’t require a science degree, but it does call for the right tools. The good news? You can start simple and scale up based on what you find.
For most Vancouver homes, a basic humidity meter is your first purchase. These handheld devices show you whether your rooms are too damp (hello, mold risk) or too dry (irritated sinuses, anyone?). Expect to spend $20-40 for a reliable digital hygrometer. Look for models that store readings over time so you can track patterns through our notoriously wet winter months.
Next up are multi-sensor air quality monitors, the workhorses of DIY testing in 2026. Devices from brands like Awair, IQAir, and Aranet measure multiple pollutants simultaneously: particulate matter (PM2.5 and PM10), VOCs, CO2, temperature, and humidity. Prices range from $100 for basic models to $300 for units with detailed app tracking and historical data. The sweet spot? Around $150-200 gets you a monitor that handles Vancouver’s specific concerns, including smoke detection during wildfire season and moisture tracking during our rainy stretches.
Here’s what you actually need to get started:
– Basic humidity meter ($20-40) for moisture baseline in every room
– Multi-sensor air quality monitor ($100-300) for comprehensive pollutant tracking
– Professional mold inspection ($300-500) if you spot persistent dampness or smell mustiness
– Radon test kit ($25-50) for basement testing, especially in older homes
Professional testing services in Vancouver typically charge $300-800 for comprehensive air quality assessments, including mold sampling, VOC analysis, and ventilation evaluation. Companies like Air Quality Consultants and Indoor Environmental Services operate locally. This route makes sense if you’re dealing with ongoing health symptoms, buying an older home, or renovating and want a detailed before-and-after picture.
When choosing equipment, prioritize accuracy over features. Read actual user reviews, not just specs. A $200 monitor that gives reliable readings beats a $300 model with a flashy app but questionable sensors.
Before You Start: Safety and When to Call a Pro
Most air quality testing is straightforward, but know your limits. If you notice a persistent musty smell, visible mold patches larger than a square foot, or unexplained headaches and respiratory symptoms that improve when you leave home, skip the DIY route and hire a certified indoor air quality specialist. Gas or strong chemical odors warrant an immediate call to FortisBC or a licensed HVAC pro, don’t mess around trying to pinpoint the source yourself.
Serious structural moisture issues in Vancouver’s older homes, especially those with unfinished crawl spaces or chronic basement leaks, often need expert assessment and remediation. Same goes if your family experiences ongoing allergy-like symptoms that don’t match the season or if you’re dealing with potential asbestos in pre-1990 buildings. When choosing a professional, verify credentials through the Indoor Air Quality Association or check references locally, unfortunately, indoor health scams do exist, preying on homeowners worried about their families.
When you do test yourself, crack a window slightly in one distant room to maintain some baseline ventilation without creating cross-breezes that skew readings. You’re measuring your home’s typical conditions, not a sealed lab. If you’re worried about affording fixes after identifying problems, remember that improving air quality is often more urgent than dealing with insurance or health coverage bureaucracy, your lungs can’t wait for paperwork.
Step-by-Step: Testing Your Vancouver Home’s Air Quality
Measuring Humidity and Moisture
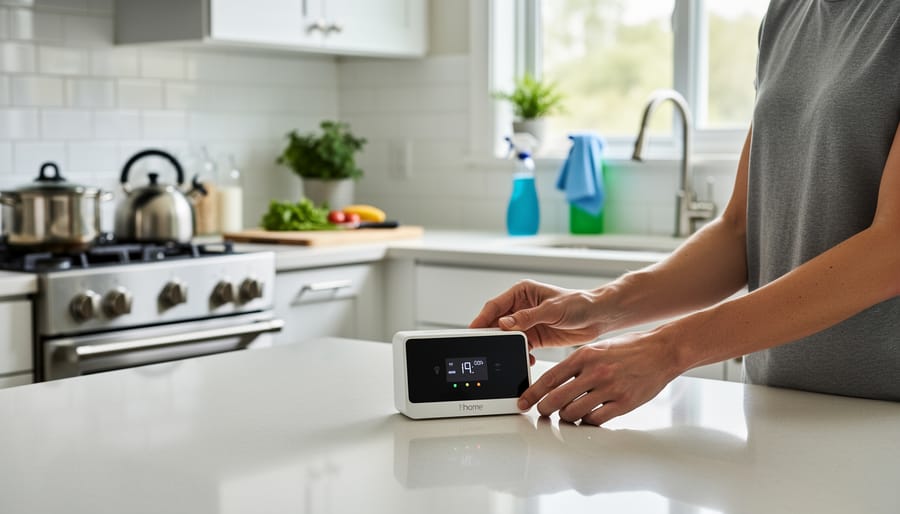
Grab a digital hygrometer, they’re $20 to $40 and far more accurate than your phone app, and check each room at the same time of day for three days running. You want consistent readings, not a single snapshot that might catch post-shower humidity.
Vancouver homes should sit between 30% and 50% relative humidity year-round. Below 30%, you’ll get dry skin, static shocks, and cracked woodwork. Above 50%, you’re inviting mold, dust mites, and that musty smell older Vancouver houses know too well.
Start with your problem zones. Bathrooms spike to 70% or 80% during showers, which is fine temporarily, but should drop back below 60% within an hour. If they don’t, your exhaust fan isn’t cutting it or you’re not running it long enough. Basements in older homes often hover at 55% to 65% even on dry days, especially concrete foundation spaces with poor air circulation. Check closets against exterior walls, corners where two outside walls meet, and any room that feels colder than the rest of your place.
Readings that stay above 60% anywhere mean you’ve found your moisture problem. That’s where mold starts, and that’s where you focus your improvement efforts first.
Tracking Particulates and VOCs
Modern air quality monitors make it straightforward to track the invisible pollutants floating through your Vancouver home. You’re looking for two main categories: particulate matter (labeled PM2.5 and PM10 on most devices) and volatile organic compounds (VOCs).
PM2.5 measures tiny particles under 2.5 micrometers, think wildfire smoke, cooking emissions, or dust. PM10 catches slightly larger stuff like pollen and mold spores. Your monitor will show readings in micrograms per cubic meter. Safe levels sit below 12 for PM2.5 and 50 for PM10, though you’ll want even lower if someone in your home has asthma or allergies.
VOCs appear as a general reading or air quality index on most consumer monitors. These are gases released from paint, cleaning sprays, new furniture, air fresheners, even your shampoo. Spike your monitor by cleaning the bathroom with bleach, and you’ll watch the VOC number climb.
Here’s the trick: run your monitor for 24 hours in each room before making changes. Then test again while cooking dinner, after cleaning, or when you bring home new furniture. Those activity-based readings tell you which habits matter most for your air quality.
Testing for Carbon Dioxide and Ventilation
CO2 levels reveal how well your home exchanges fresh air with the outside world. When you breathe, you exhale carbon dioxide, in a well-ventilated room, that CO2 disperses quickly, but in tight spaces it accumulates fast.
Grab a CO2 monitor (basic models run $80-150 in 2026) and check readings in closed rooms after an hour of occupancy. Outdoor air sits around 400-450 ppm; indoor levels should stay under 1000 ppm during normal use. Bedrooms regularly hitting 1500-2000 ppm overnight signal poor airflow, which also means other pollutants aren’t escaping either.
Vancouver’s newer condos and recently renovated homes create a paradox: excellent insulation traps heat and cuts energy bills, but without proper ventilation systems that same air-tightness keeps stale air circulating. The same monitoring tech that became ubiquitous during the pandemic now helps identify which rooms need better air exchange.
Test your problem spots: home offices with closed doors, basement family rooms, bedrooms with windows rarely opened. High CO2 readings point directly to where you need ventilation fixes, whether that’s cracking a window during dry weather, running exhaust fans longer, or considering an HRV system for whole-home air exchange.
How to Improve Your Air Quality: Proven Fixes for Vancouver Homes
Ventilation Solutions That Work in Our Climate
Vancouver’s damp winters and wildfire summers mean ventilation isn’t about always opening windows, it’s about timing and tools. Run your bathroom exhaust fan for at least 20 minutes after every shower to prevent moisture buildup that feeds mold in our climate. Your kitchen range hood should be on whenever you’re cooking, venting steam and combustion byproducts outside (recirculating models don’t cut it for air quality). On dry days when outdoor AQI is below 50, open windows on opposite sides of your home for 10-15 minutes to create cross-ventilation that flushes stale air without losing too much heat.
For quick ventilation wins that work year-round:
- Run bathroom fans for 20 minutes post-shower, even if the mirror clears sooner
- Use your range hood while cooking, not just when it gets smoky
- Crack windows on opposite sides for cross-ventilation when AQI permits (check real-time readings)
- Maintain mechanical ventilation systems with filter changes every three months
If you live in a newer, tight home built after 2010, your HRV or ERV system is your main fresh-air source, set it to run continuously at low speed rather than on a timer. During wildfire season, flip to recirculation mode if your system allows it, or turn it off entirely and rely on portable HEPA filters until smoke clears. Older leaky homes get passive air exchange through cracks and gaps, which sounds bad but actually provides baseline ventilation; your job is controlling where and when that happens with targeted exhaust fans rather than sealing everything and choking off airflow.
Managing Moisture and Preventing Mold
Vancouver’s coastal climate means moisture control is a year-round job, not just a rainy-season afterthought. Basements and ground-floor spaces need particular attention, a dehumidifier set to maintain 40-50% relative humidity prevents that musty smell and stops mold before it starts. Empty the reservoir daily or run a hose to a floor drain if your model allows it.
Fix leaks the moment you spot them. That slow drip under the sink or the damp patch after a storm will cost you more in mold remediation than a plumber’s visit. Check behind toilets, under sinks, and around window frames monthly during our wet months (October through April).
Bathroom ventilation matters more here than in drier climates. Run your exhaust fan during showers and for 20 minutes after. If condensation still fogs your mirror an hour later, your fan is undersized or venting improperly, common in older Vancouver homes.
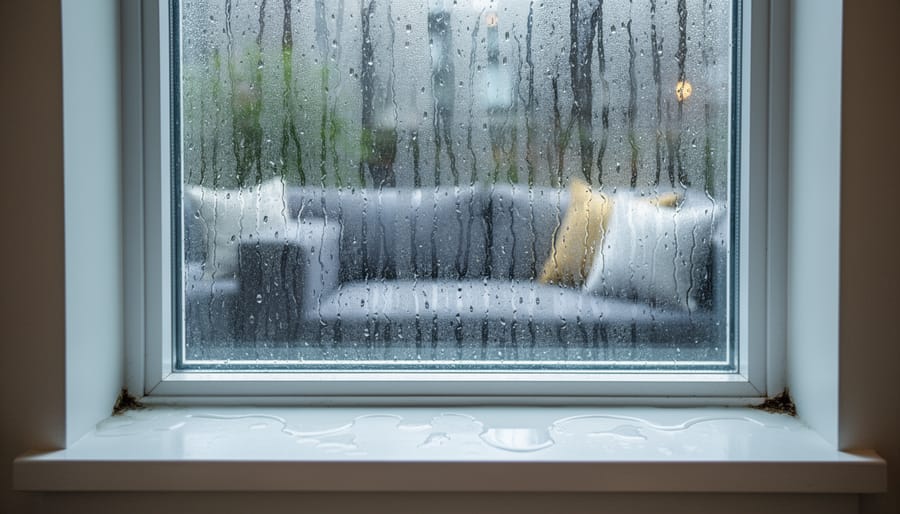
Window condensation signals either poor ventilation or excessive indoor humidity. Wipe down frames weekly in winter to prevent water pooling on sills, which leads to rot and mold. Consider a moisture eliminator product for problem windows while you address the root cause through better air circulation.
Air Filtration and Purification Options
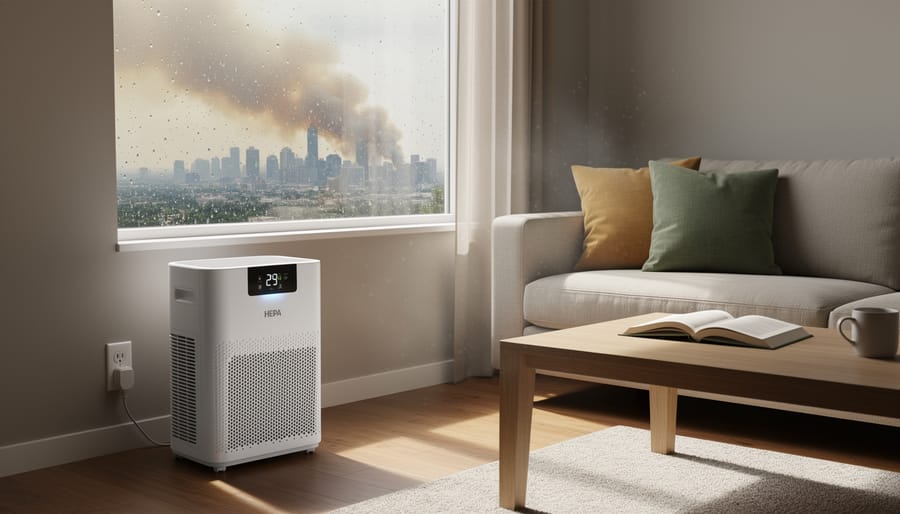
Portable air purifiers earn their keep during Vancouver’s wildfire smoke season and in rooms where you can’t fix the underlying issue right away. Look for units with true HEPA filters (certified to capture 99.97% of 0.3-micron particles) sized appropriately for your room’s square footage. A purifier rated for 250 square feet won’t do much in your 400-square-foot living room.
For forced-air systems, swap your basic furnace filter for a MERV 11-13 pleated filter. It catches more particles without overtaxing most residential systems. Check your filter monthly during dusty renovation periods or wildfire season; standard replacement every three months often isn’t enough here.
Skip ionizers and ozone generators. They create indoor air quality problems rather than solving them, and Health Canada discourages ozone-based purification in homes.
Activated carbon filters handle odours and some VOCs, but they saturate faster than HEPA media. If you’re targeting cooking smells or off-gassing furniture, plan to replace carbon pre-filters every three to six months.
Maintenance matters more than the technology. A clogged HEPA filter becomes useless, and a neglected purifier circulates dust instead of capturing it. Set phone reminders, mark filter changes on your calendar, and keep replacement filters on hand before you need them.
Verifying Your Progress and Maintaining Healthy Air
After you’ve made improvements, wait two to four weeks before retesting to let changes stabilize. Run the same measurements you did initially, humidity, CO2, particulates, in the same rooms and at similar times of day. You should see humidity drop into the 30-50% range, CO2 stay below 1000 ppm with regular ventilation, and particulate spikes decrease after cooking or cleaning.
Don’t expect instant perfection. Moisture issues may take a full rainy season to confirm they’re solved. Air purifiers show results within days for dust and cooking smoke, but persistent VOC levels from new furniture can linger for months. Check readings weekly for the first month after changes, then monthly once things stabilize.
Vancouver’s climate demands seasonal adjustments. Ramp up dehumidifier use from October through March. During wildfire season close windows and lean on filters. Spring is ideal for deep ventilation, open everything on dry days to flush stale winter air.
Reassess annually, or sooner if you notice new smells, health symptoms return, or you make home changes like renovations or new furniture. Healthy home living isn’t a one-time fix; it’s an ongoing practice of testing, adjusting, and staying aware of what your space needs as seasons and conditions shift.
Common Questions About Vancouver Home Air Quality
How do I protect air quality during wildfire season?
Close windows and run a HEPA air purifier in your main living space and bedroom. Set your furnace fan to “on” (not “auto”) with a MERV 13+ filter to circulate cleaner air, and check the purifier filter weekly during heavy smoke, it’ll clog faster than usual.
What can renters do without landlord permission?
You can use portable air purifiers, dehumidifiers, upgraded vacuum cleaners with HEPA filters, and CO2 monitors without approval. Running bathroom fans consistently, opening windows strategically, and removing personal VOC sources (scented products, synthetic air fresheners) costs nothing and makes a real difference.
Is mold a bigger concern in Vancouver than other cities?
Yes, our wet winters and coastal humidity create perfect conditions for mold growth, especially in older buildings and poorly ventilated bathrooms and basements. It’s not inevitable, but you need to be more vigilant about moisture control here than in drier climates.
When should I invest in an HRV system?
If you own a post-2000 home that feels stuffy even with windows closed, or if winter condensation on windows is severe, an HRV pays off by exchanging stale indoor air with fresh outdoor air while retaining heat. For older, drafty homes, fixing air leaks and improving basic ventilation usually makes more sense first.
How quickly will I notice health improvements?
Most people see reduced allergy symptoms, better sleep, and fewer headaches within two to four weeks of consistent improvements. Respiratory issues tied to mold or persistent dampness take longer, sometimes two to three months, especially if you’re also addressing the moisture source itself.
The timing varies by person and problem. If your main issue is cooking particulates or cleaning product VOCs, you’ll likely feel better within days of running an air purifier and switching products. Chronic concerns like mold exposure require patience: your body needs time to recover even after you’ve fixed the source.
One pattern renters consistently report: once they control what they can, humidity levels, ventilation habits, filtration, they realize how much power they actually have over their environment, even without major renovations. Start with the quick wins, track your symptoms loosely (a note in your phone works), and give changes a full month before deciding they’re not helping.
You don’t need to overhaul your entire home at once. Start with one room that needs it most, maybe that basement that always feels damp, or the bedroom where you wake up stuffy. Test it, fix what’s clearly wrong, then move to the next space. Small changes compound: running your bathroom fan for twenty minutes after a shower, swapping your furnace filter every three months, cracking a window on dry days. These aren’t heroic renovations; they’re just habits.
Vancouver’s climate throws curveballs, the relentless rain, the wildfire smoke rolling in some summers, the older buildings that weren’t built for today’s air-tightness standards. But none of it’s insurmountable. You’ve got the tools now, the testing methods, the fixes that actually work here. You know what to watch for and when to call in help.
Healthy home living isn’t about achieving lab-grade air quality. It’s about breathing easier, sleeping better, and not wondering if that headache is just “the way it is.”
What’s worked in your place? What’s been trickier than expected? Drop your air quality wins or challenges in the comments, chances are someone else in Vancouver is dealing with the exact same thing, and your solution might be their breakthrough.